March 5th, 2026
New
Our new integration with Practice Management System (PMS) ClinicOffice is now live! 🔌
To get started, head to Account Settings > Client Portal in your ClinicOffice dashboard. Our setup guide will be making its way to the help centre very soon!
February 19th, 2026
New

February 19th, 2026
New
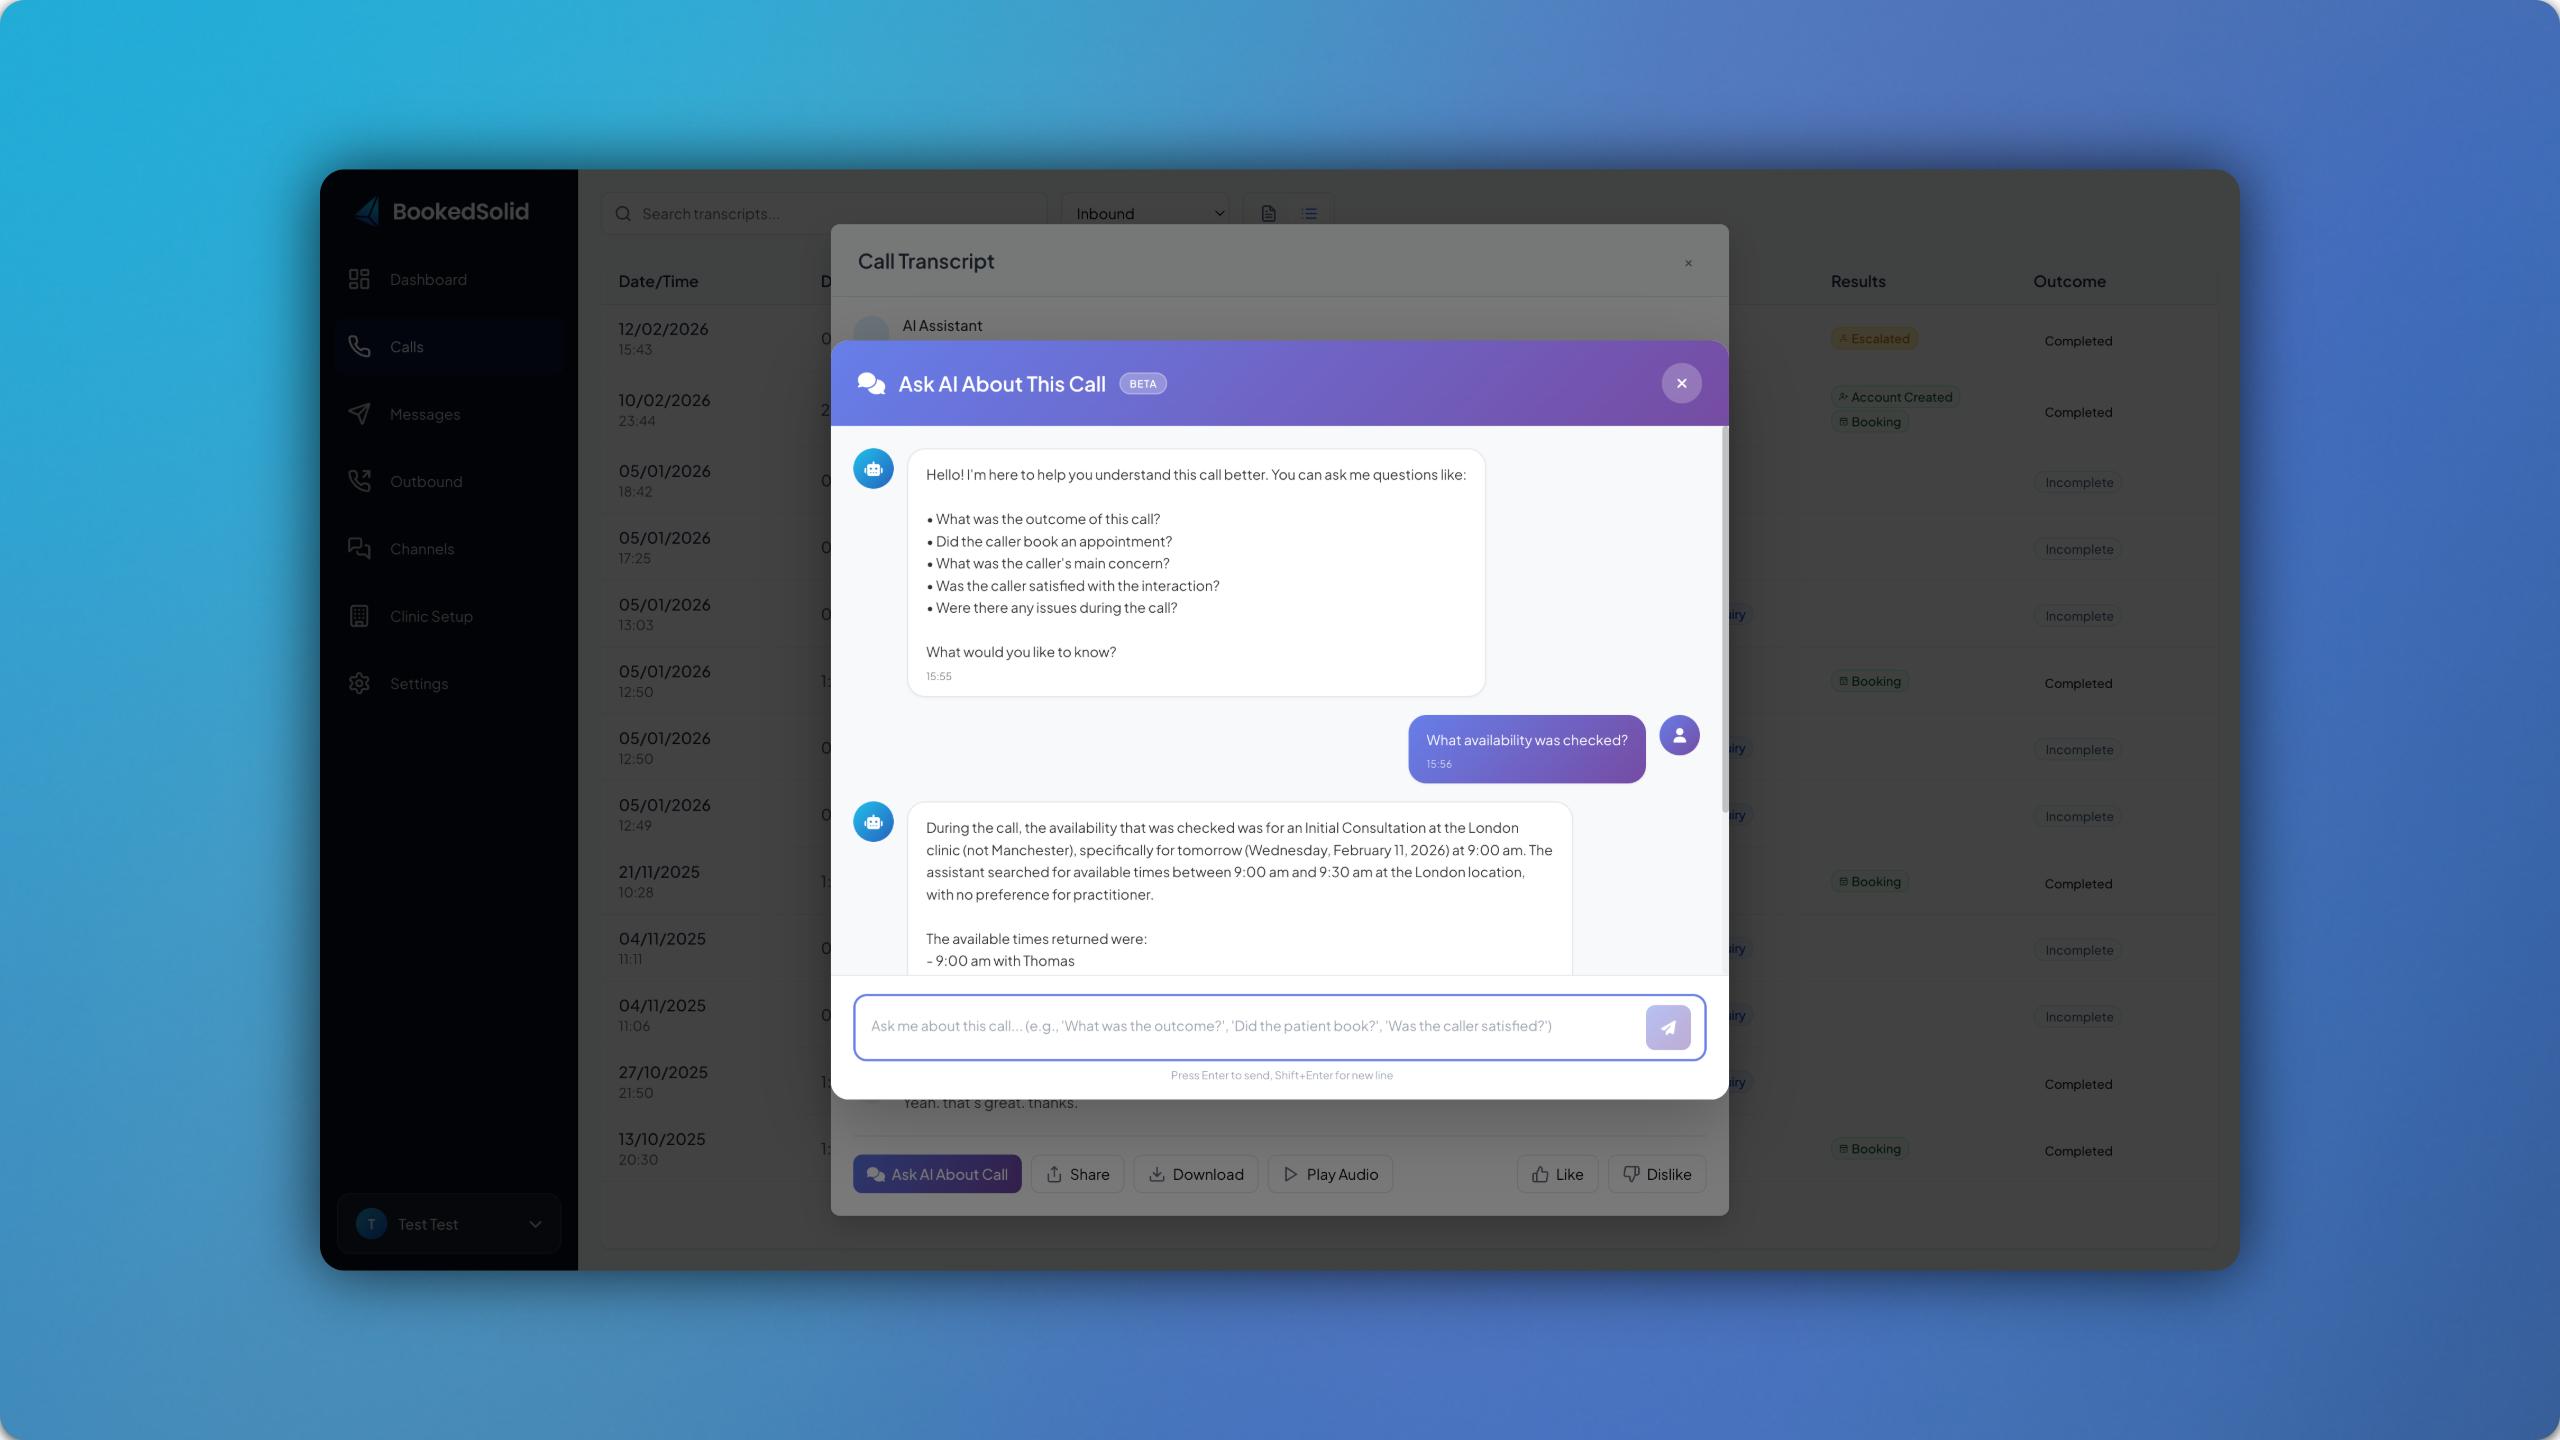
New AI call insights have been added to call transcripts, allowing you find out more information about what went on in each call. 🔍
Simply click the button titled Ask AI About This Call and you’ll be met with an AI chatbot that can give you insights into the call, including but not limited to:
What availabilities were checked by the AI
Call outcome
Any issues during the call
February 11th, 2026
Improved
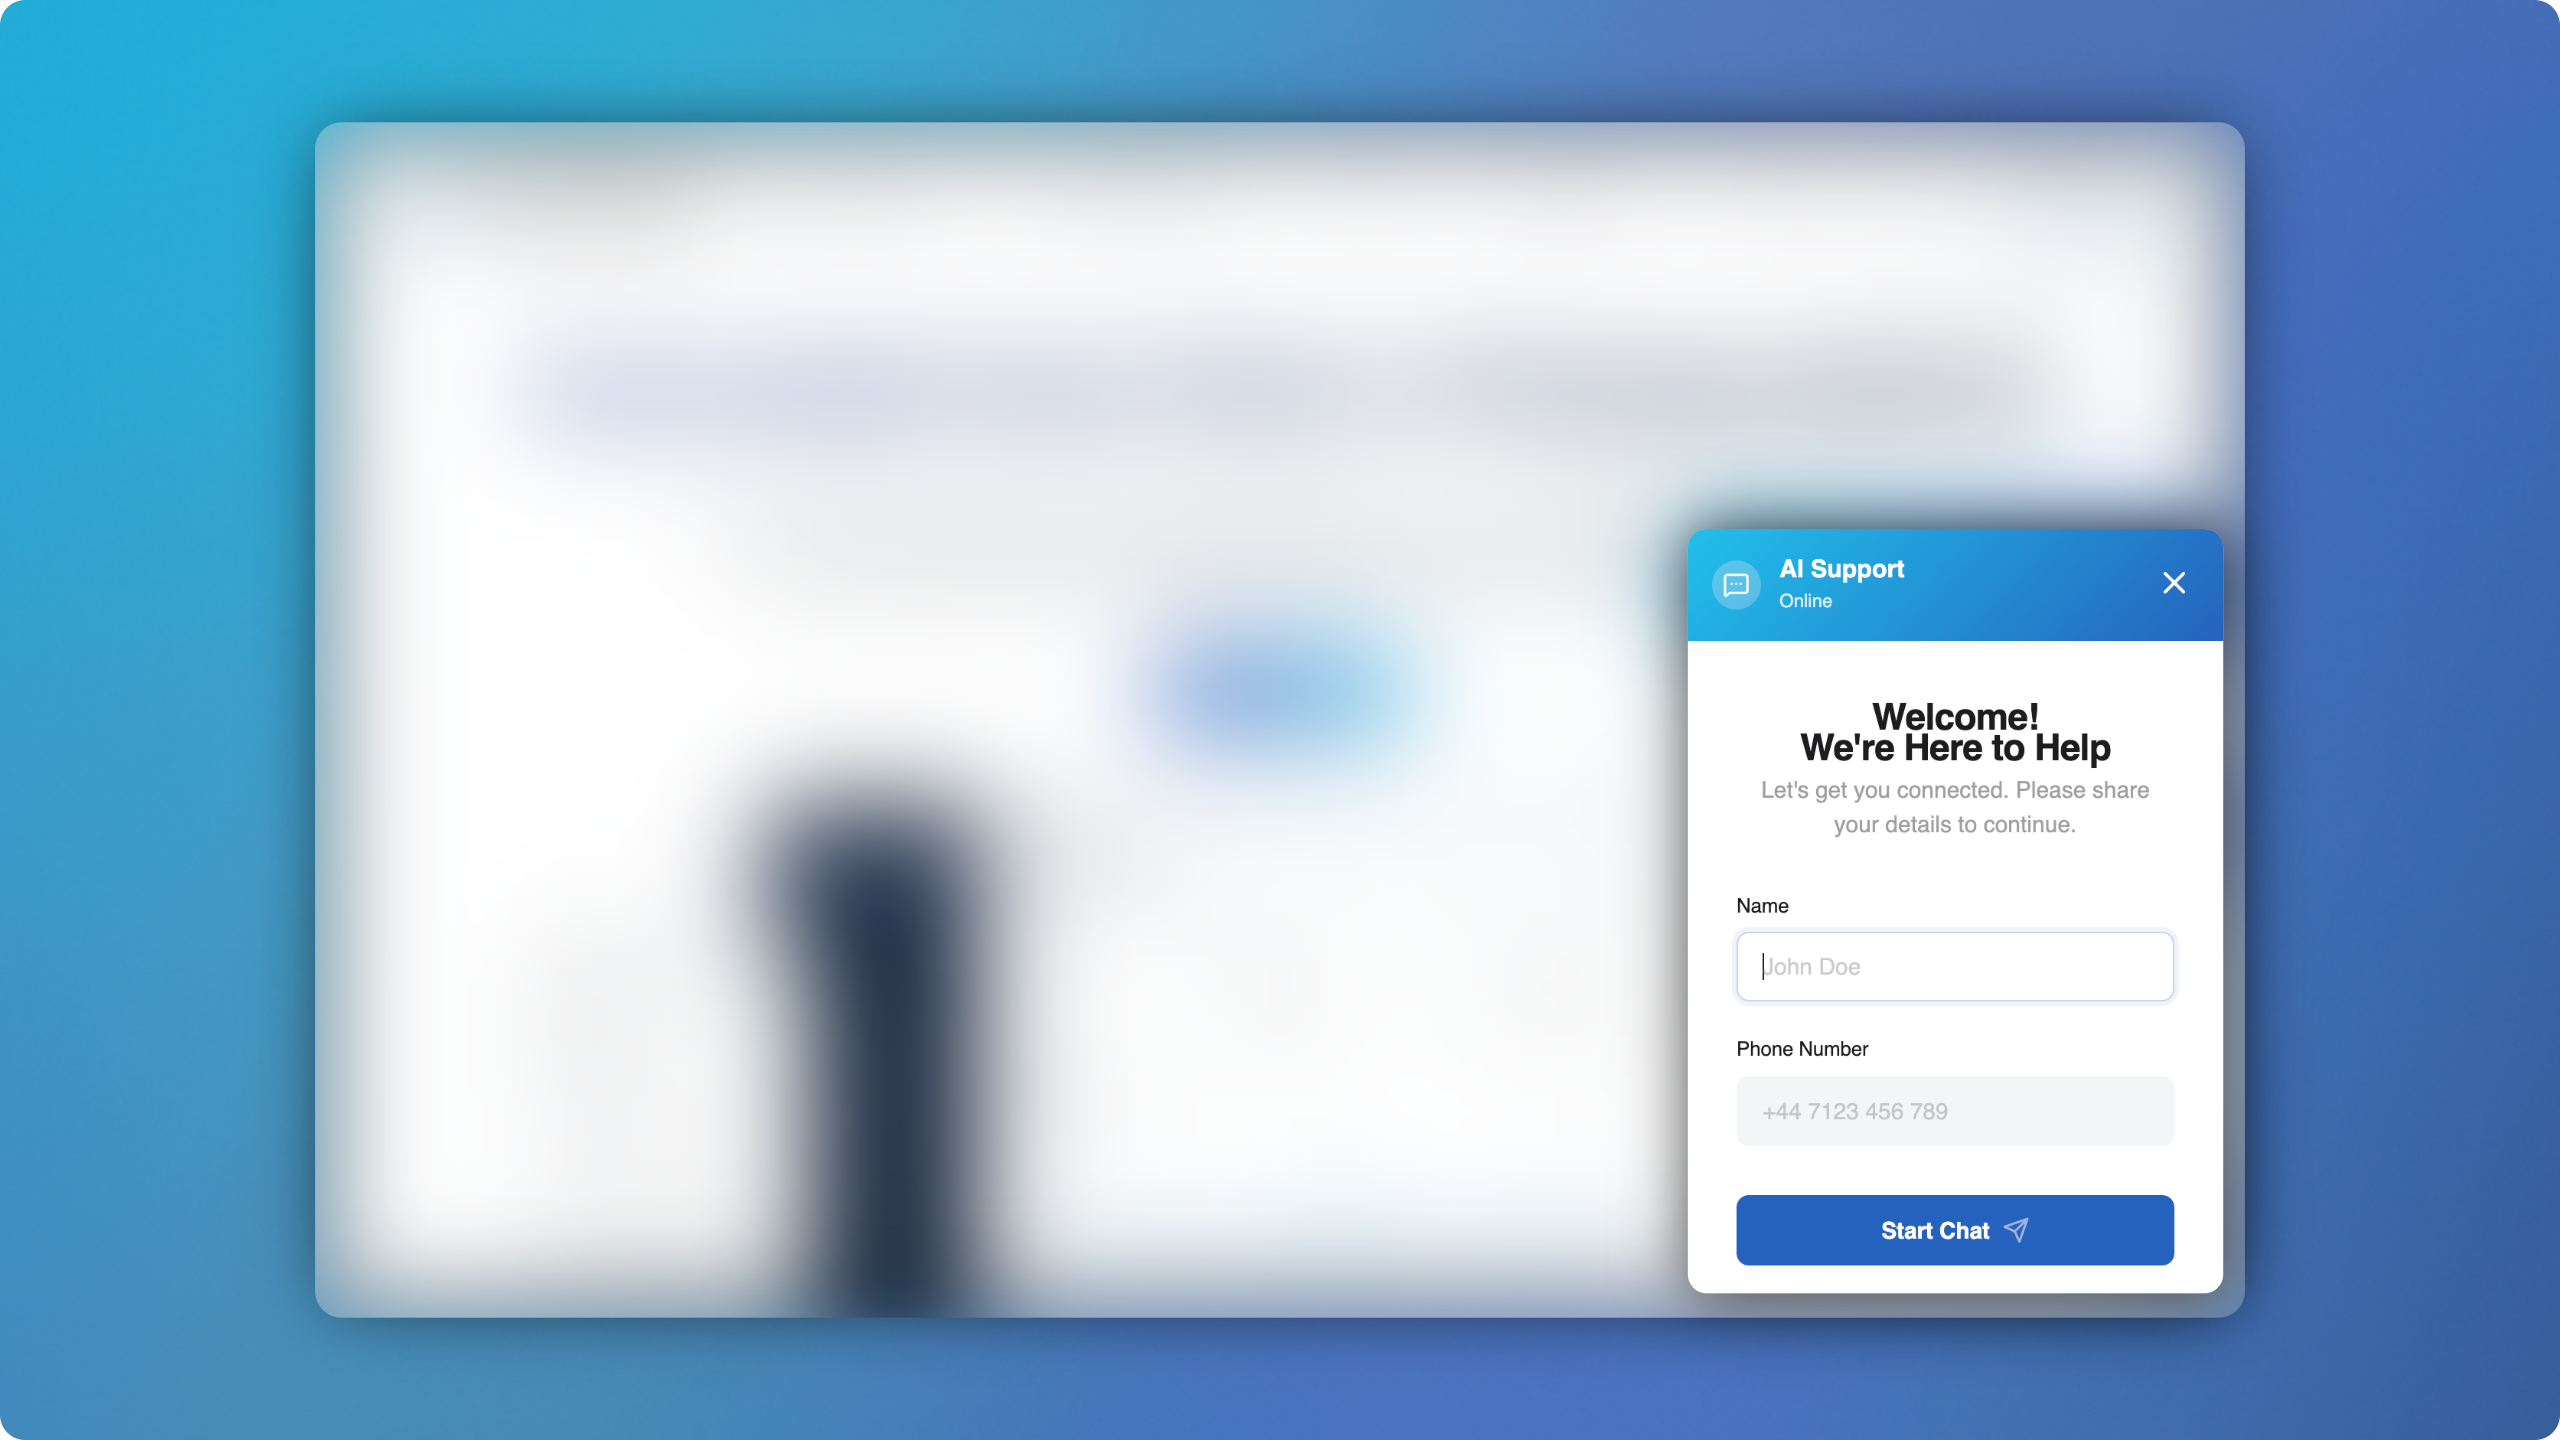
A new option has been added to the Website Widget, allowing you to collect patient details before they start a chat. 📩
In the event of them not completing a booking, a team member will have access to the following details, allowing for a manual follow-up:
Name
Phone Number
February 5th, 2026
New
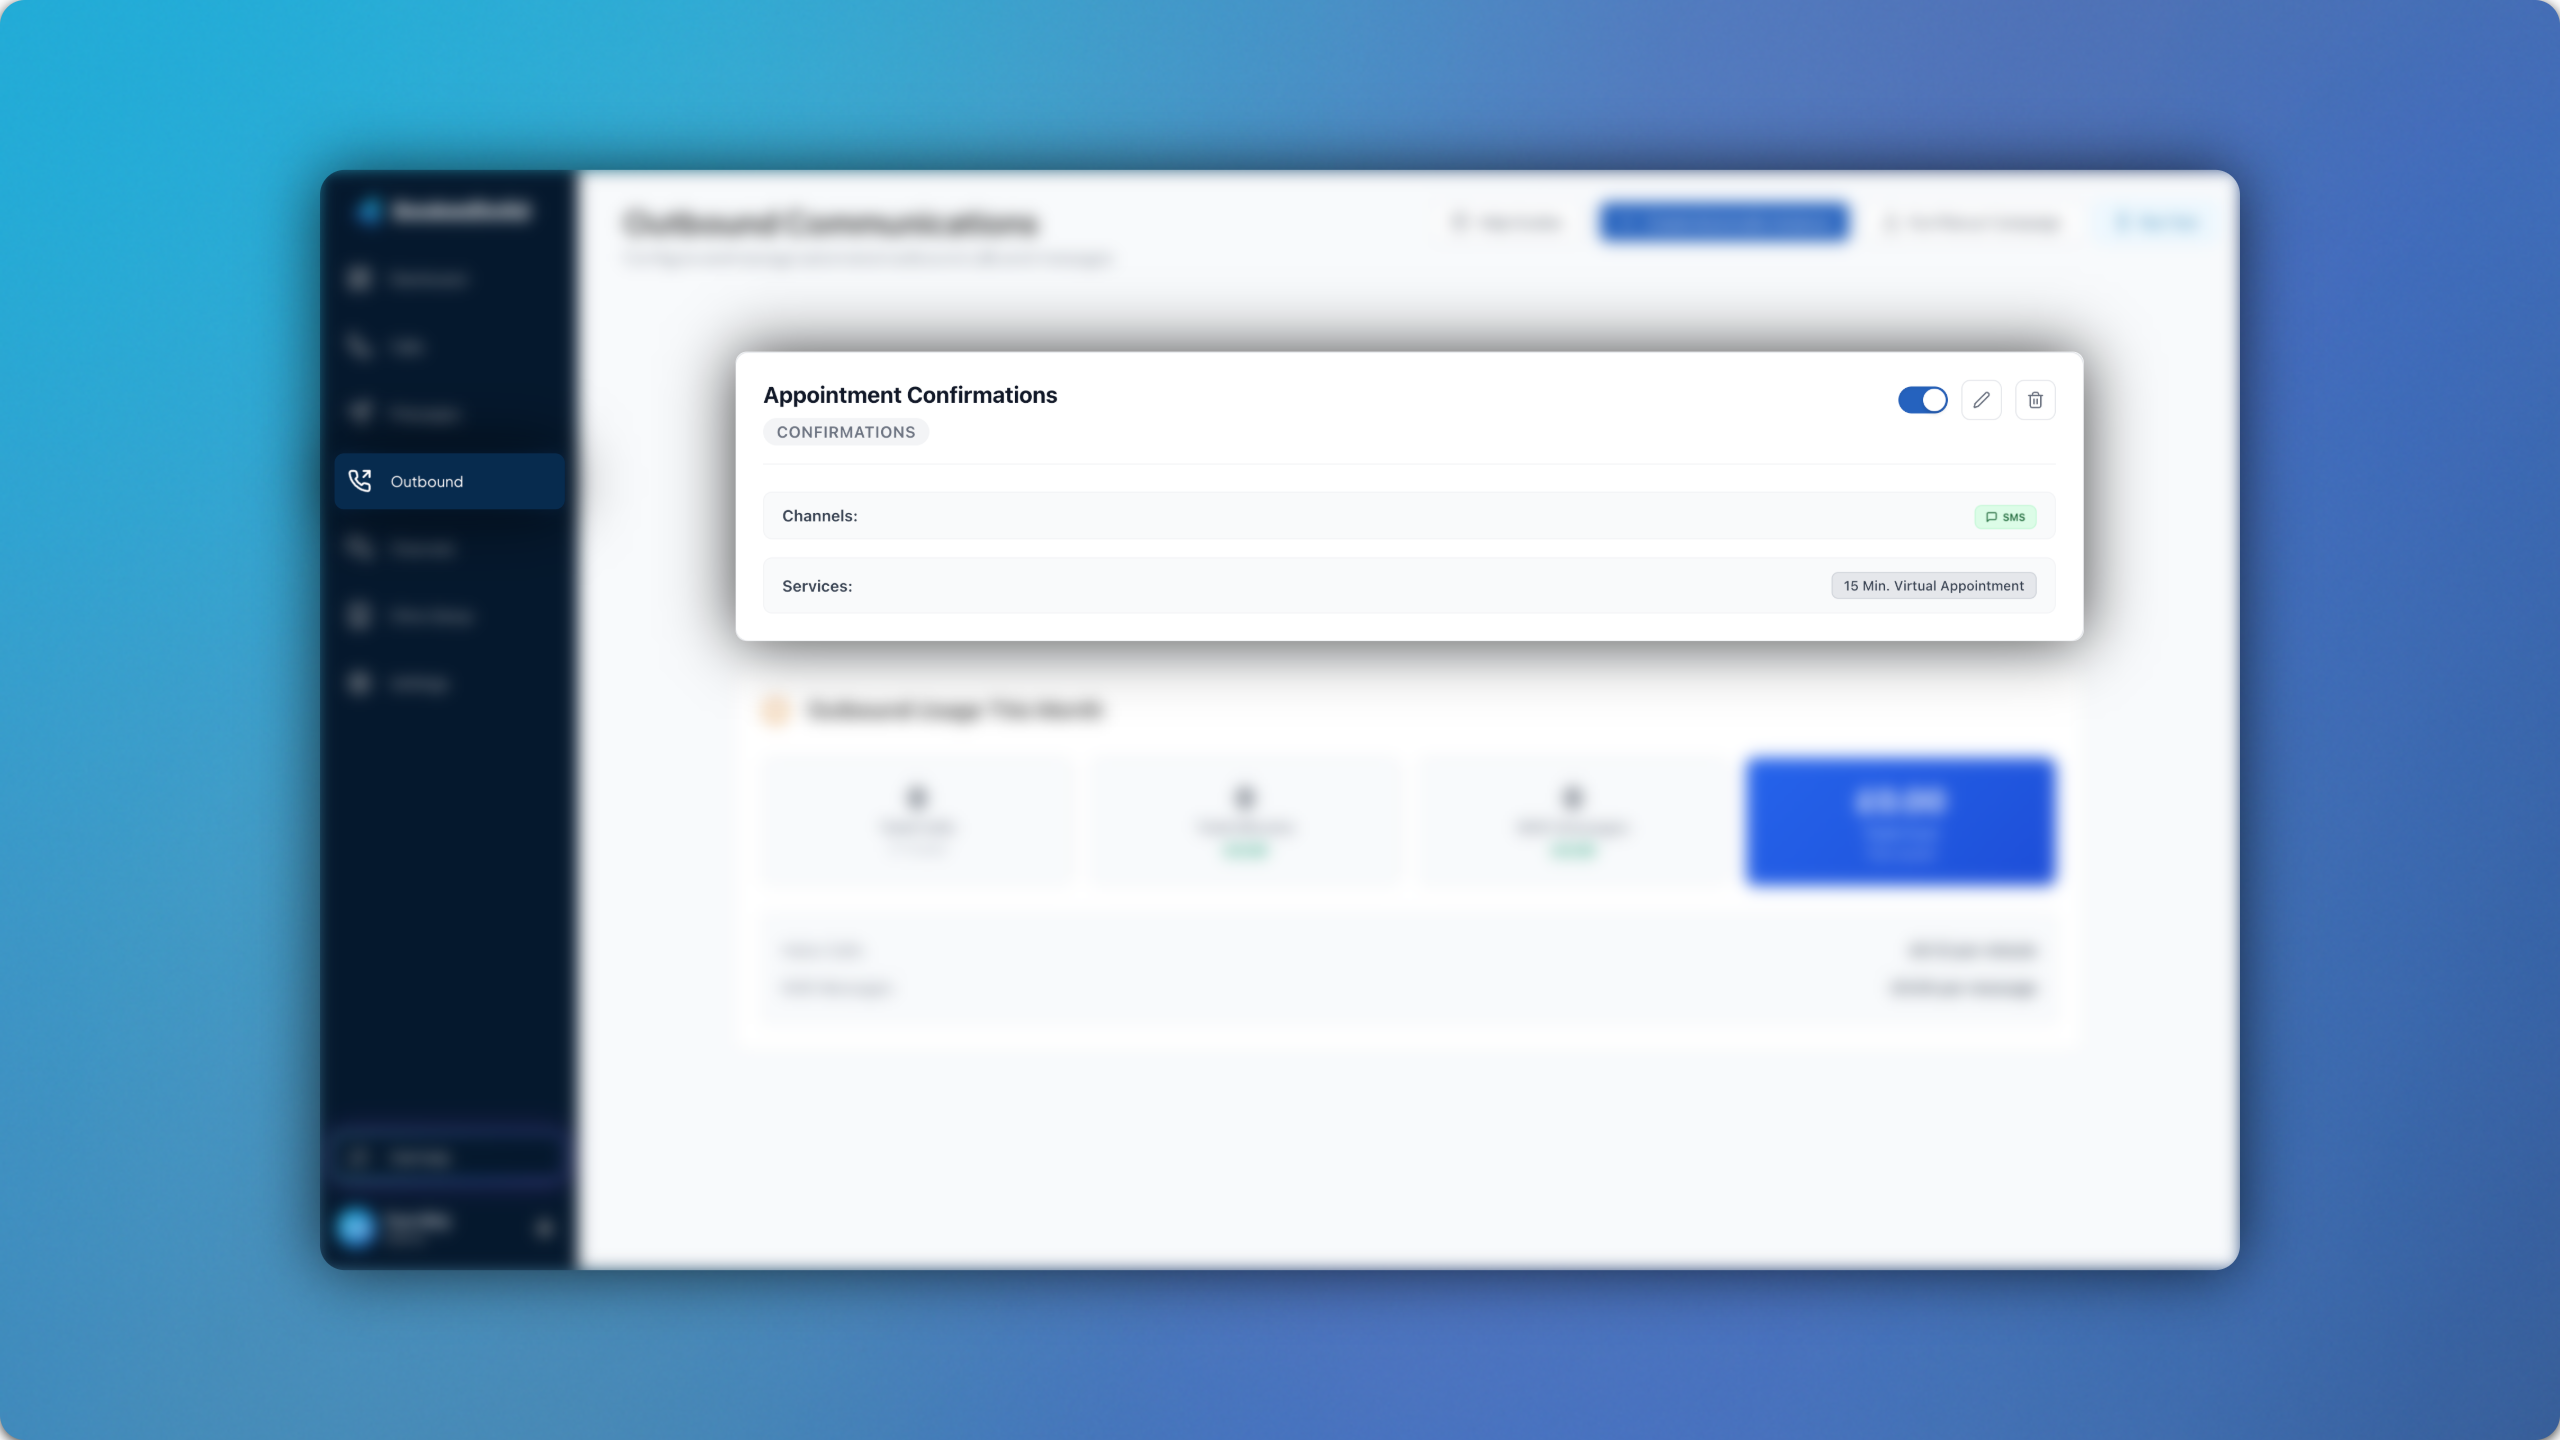
Appointment Confirmations (not to be confused with Appointment Reminders) have been added as a new feature to the outbound module! ✅
Appointment Confirmations can be sent to patients when they book an appointment into your PMS calendar. These confirmations can be scheduled to run via calls or SMS and are not exclusive to appointments booked via the AI.
If you’re running them via SMS, you can even add a link to any patient forms you require for new patients.
February 4th, 2026
New
Improved
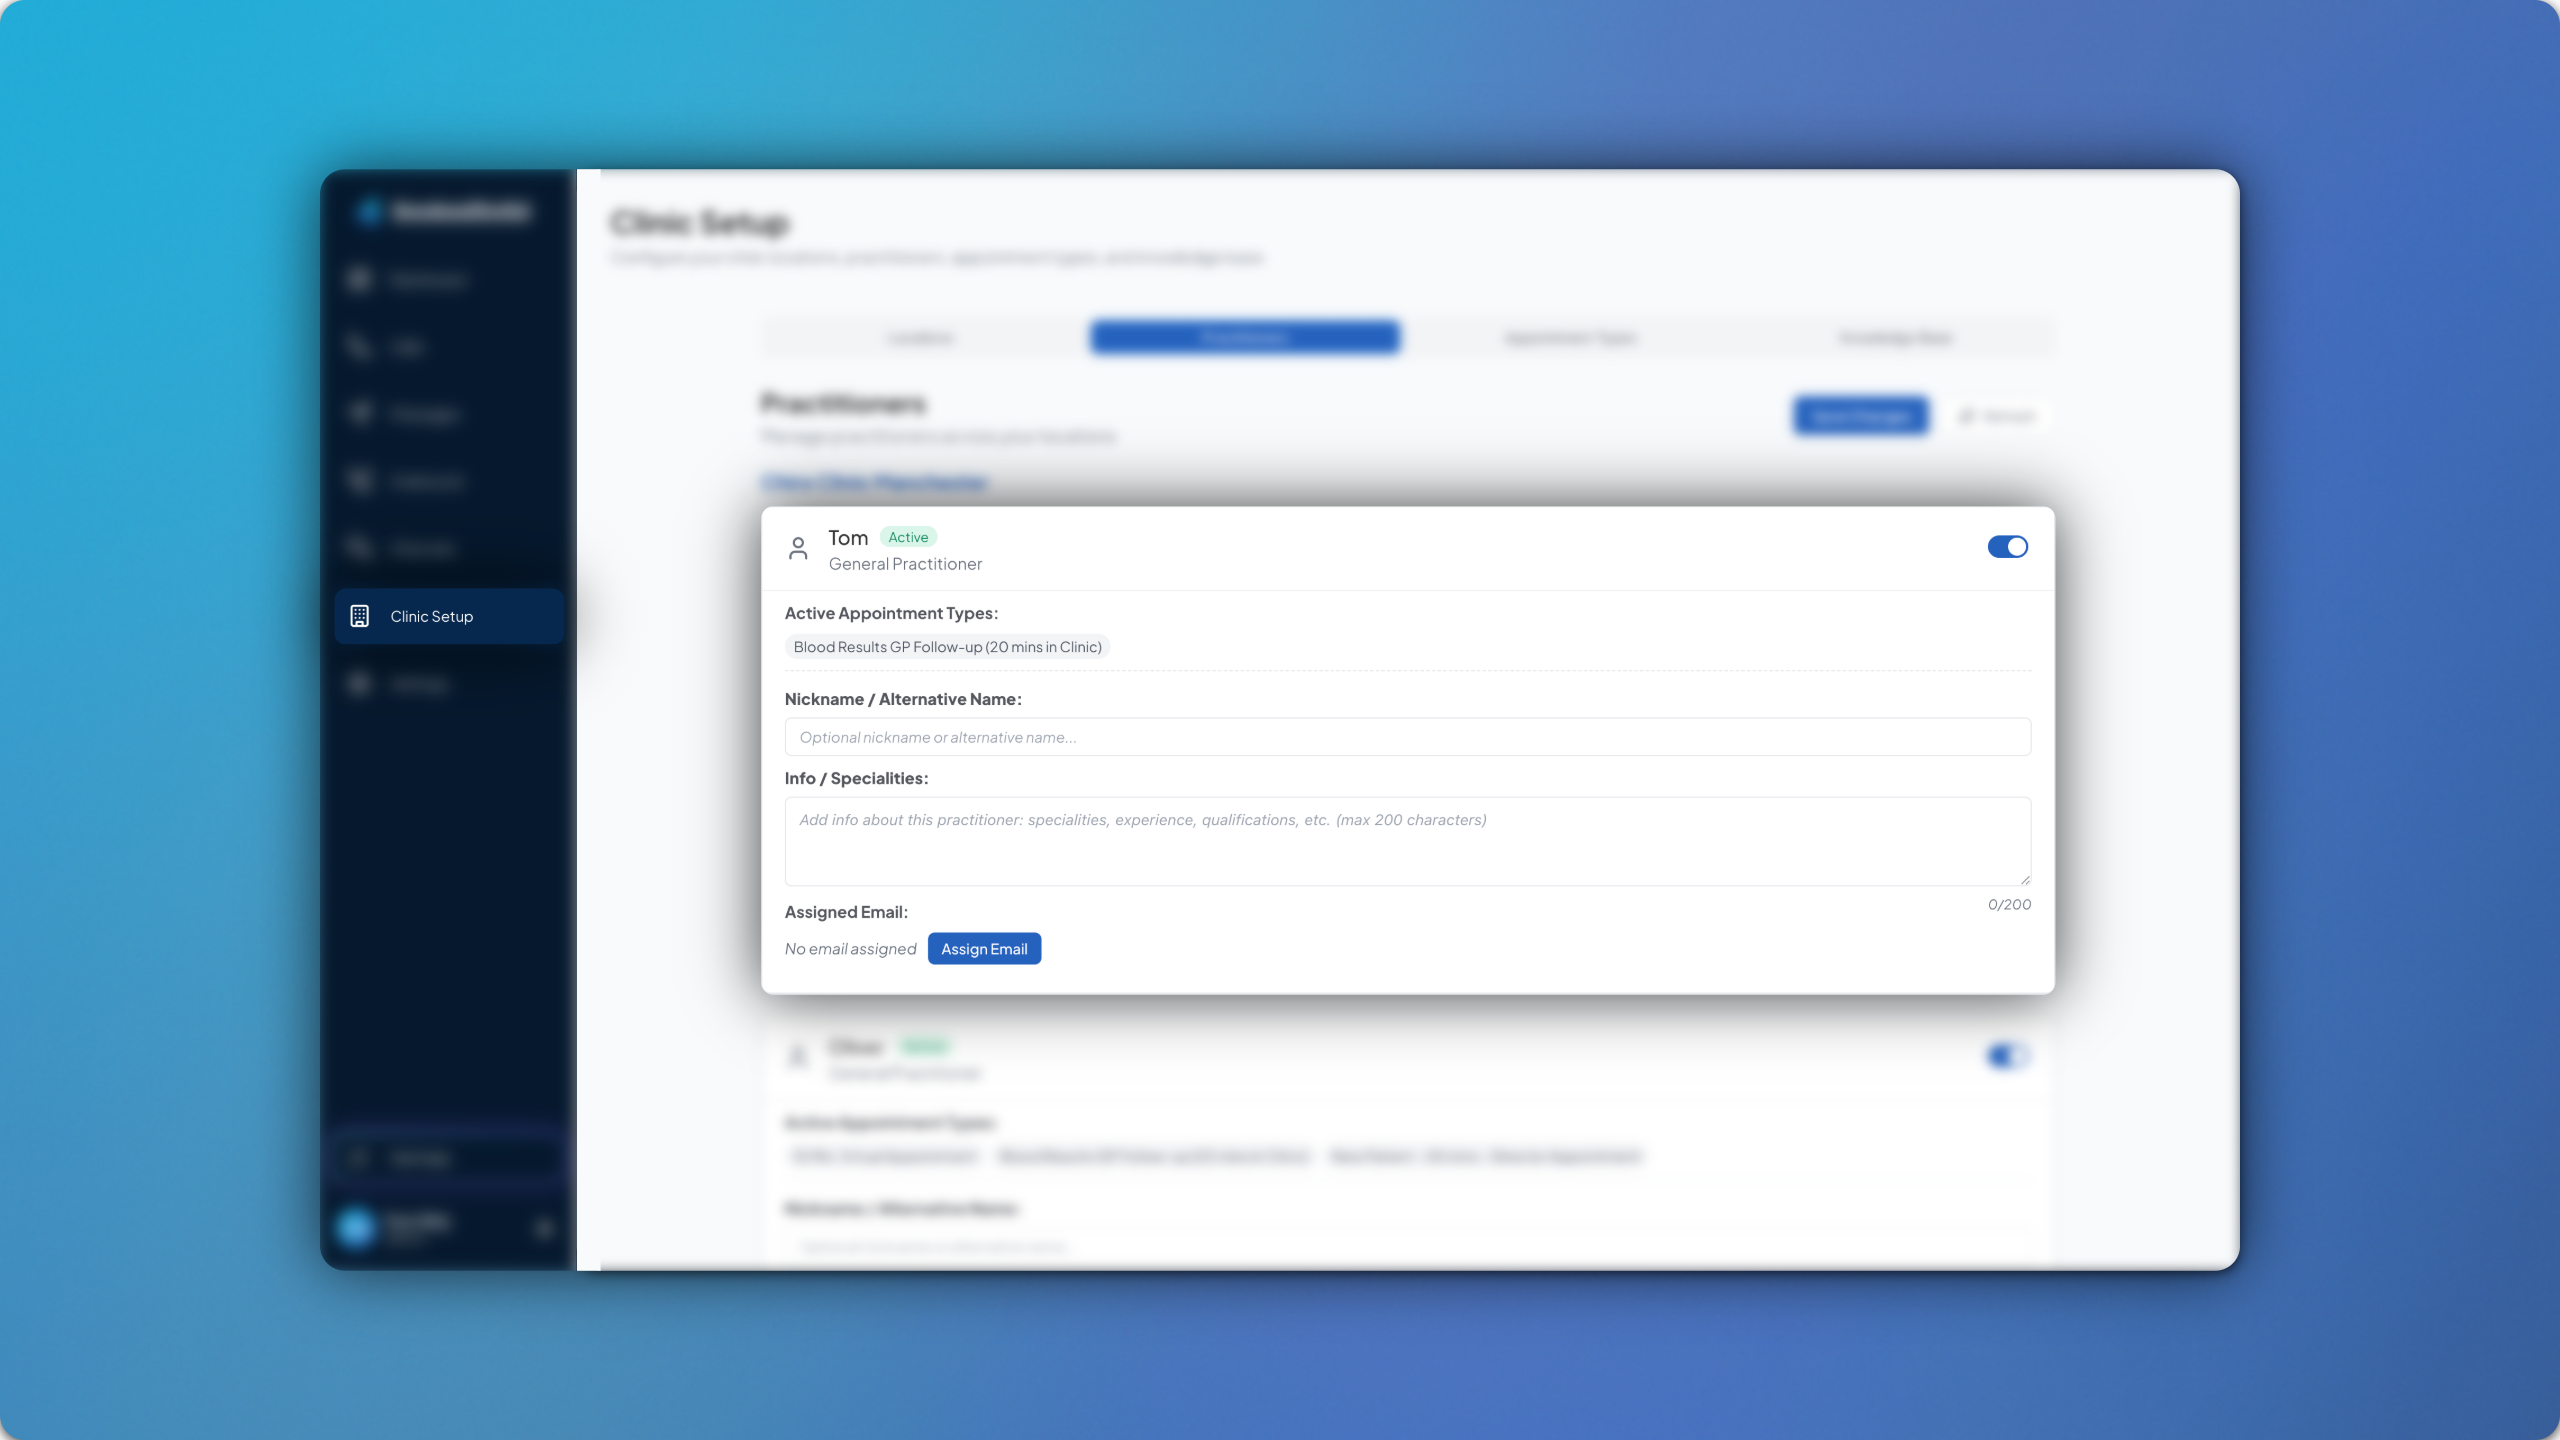
You can now add additional practitioner information to each of your practitioners in Clinic Setup.
ℹ️
The following fields can be added to each practitioner:
Nickname / Alternative Name: Add a nickname or preferred name for each of your practitioners, ensuring that the AI refers to them as they are known in the clinic and by patients.
Info / Specialities: Add information or specialities to each practitioner, such as what treatment types they specialise in, or any experience or qualifications they may have.
Assign Email: Assign a notification email address for each practitioner, ensuring that any specific patient requests for that practitioner are forwarded to their email address as well as the main notification email address.
January 26th, 2026
Fixed
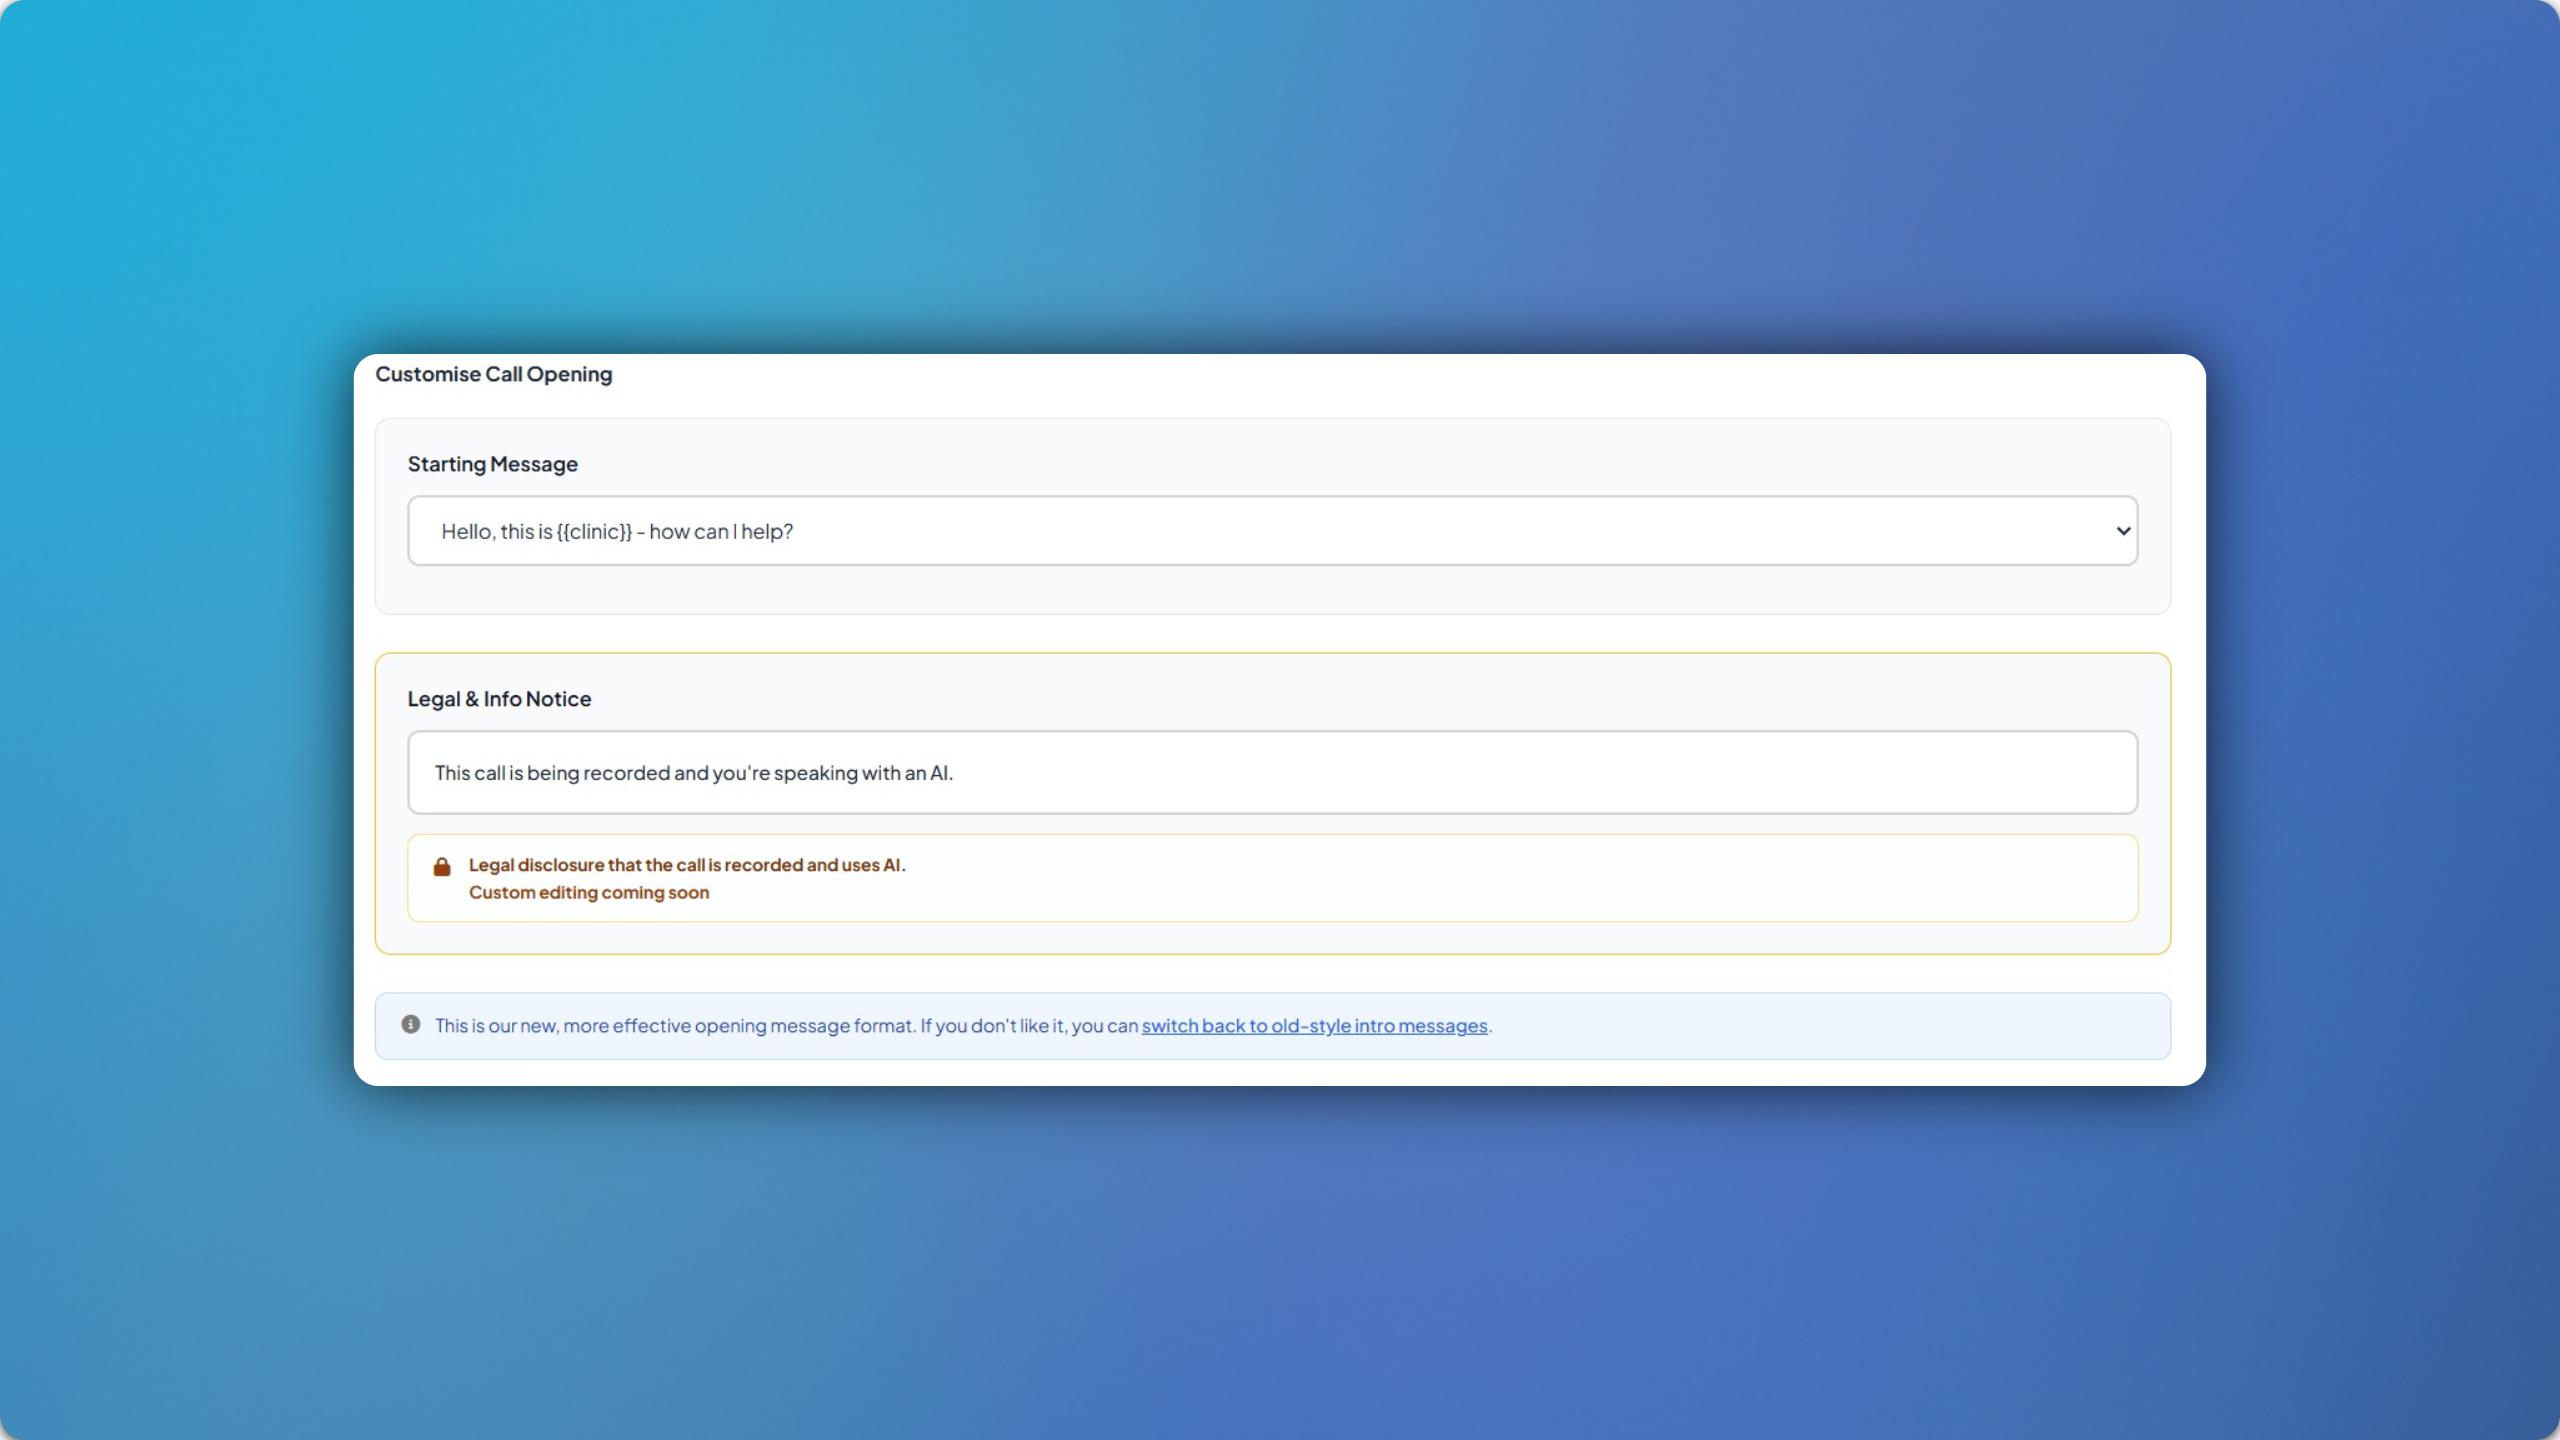
A platform-wide upgrade has been made to the intro message.
After lots of testing, we’ve found the most effective intro message formula for increasing patient engagement with the AI, as well as reducing call drop-offs and unnecessary human support requests.
This standardised intro message will be applied to your account for the above reasons, however, if you still wish to return to your previous intro message then you can do so at the bottom by clicking Switch back to old-style intro messages. It is likely to be less effective.
January 23rd, 2026
New
Improved
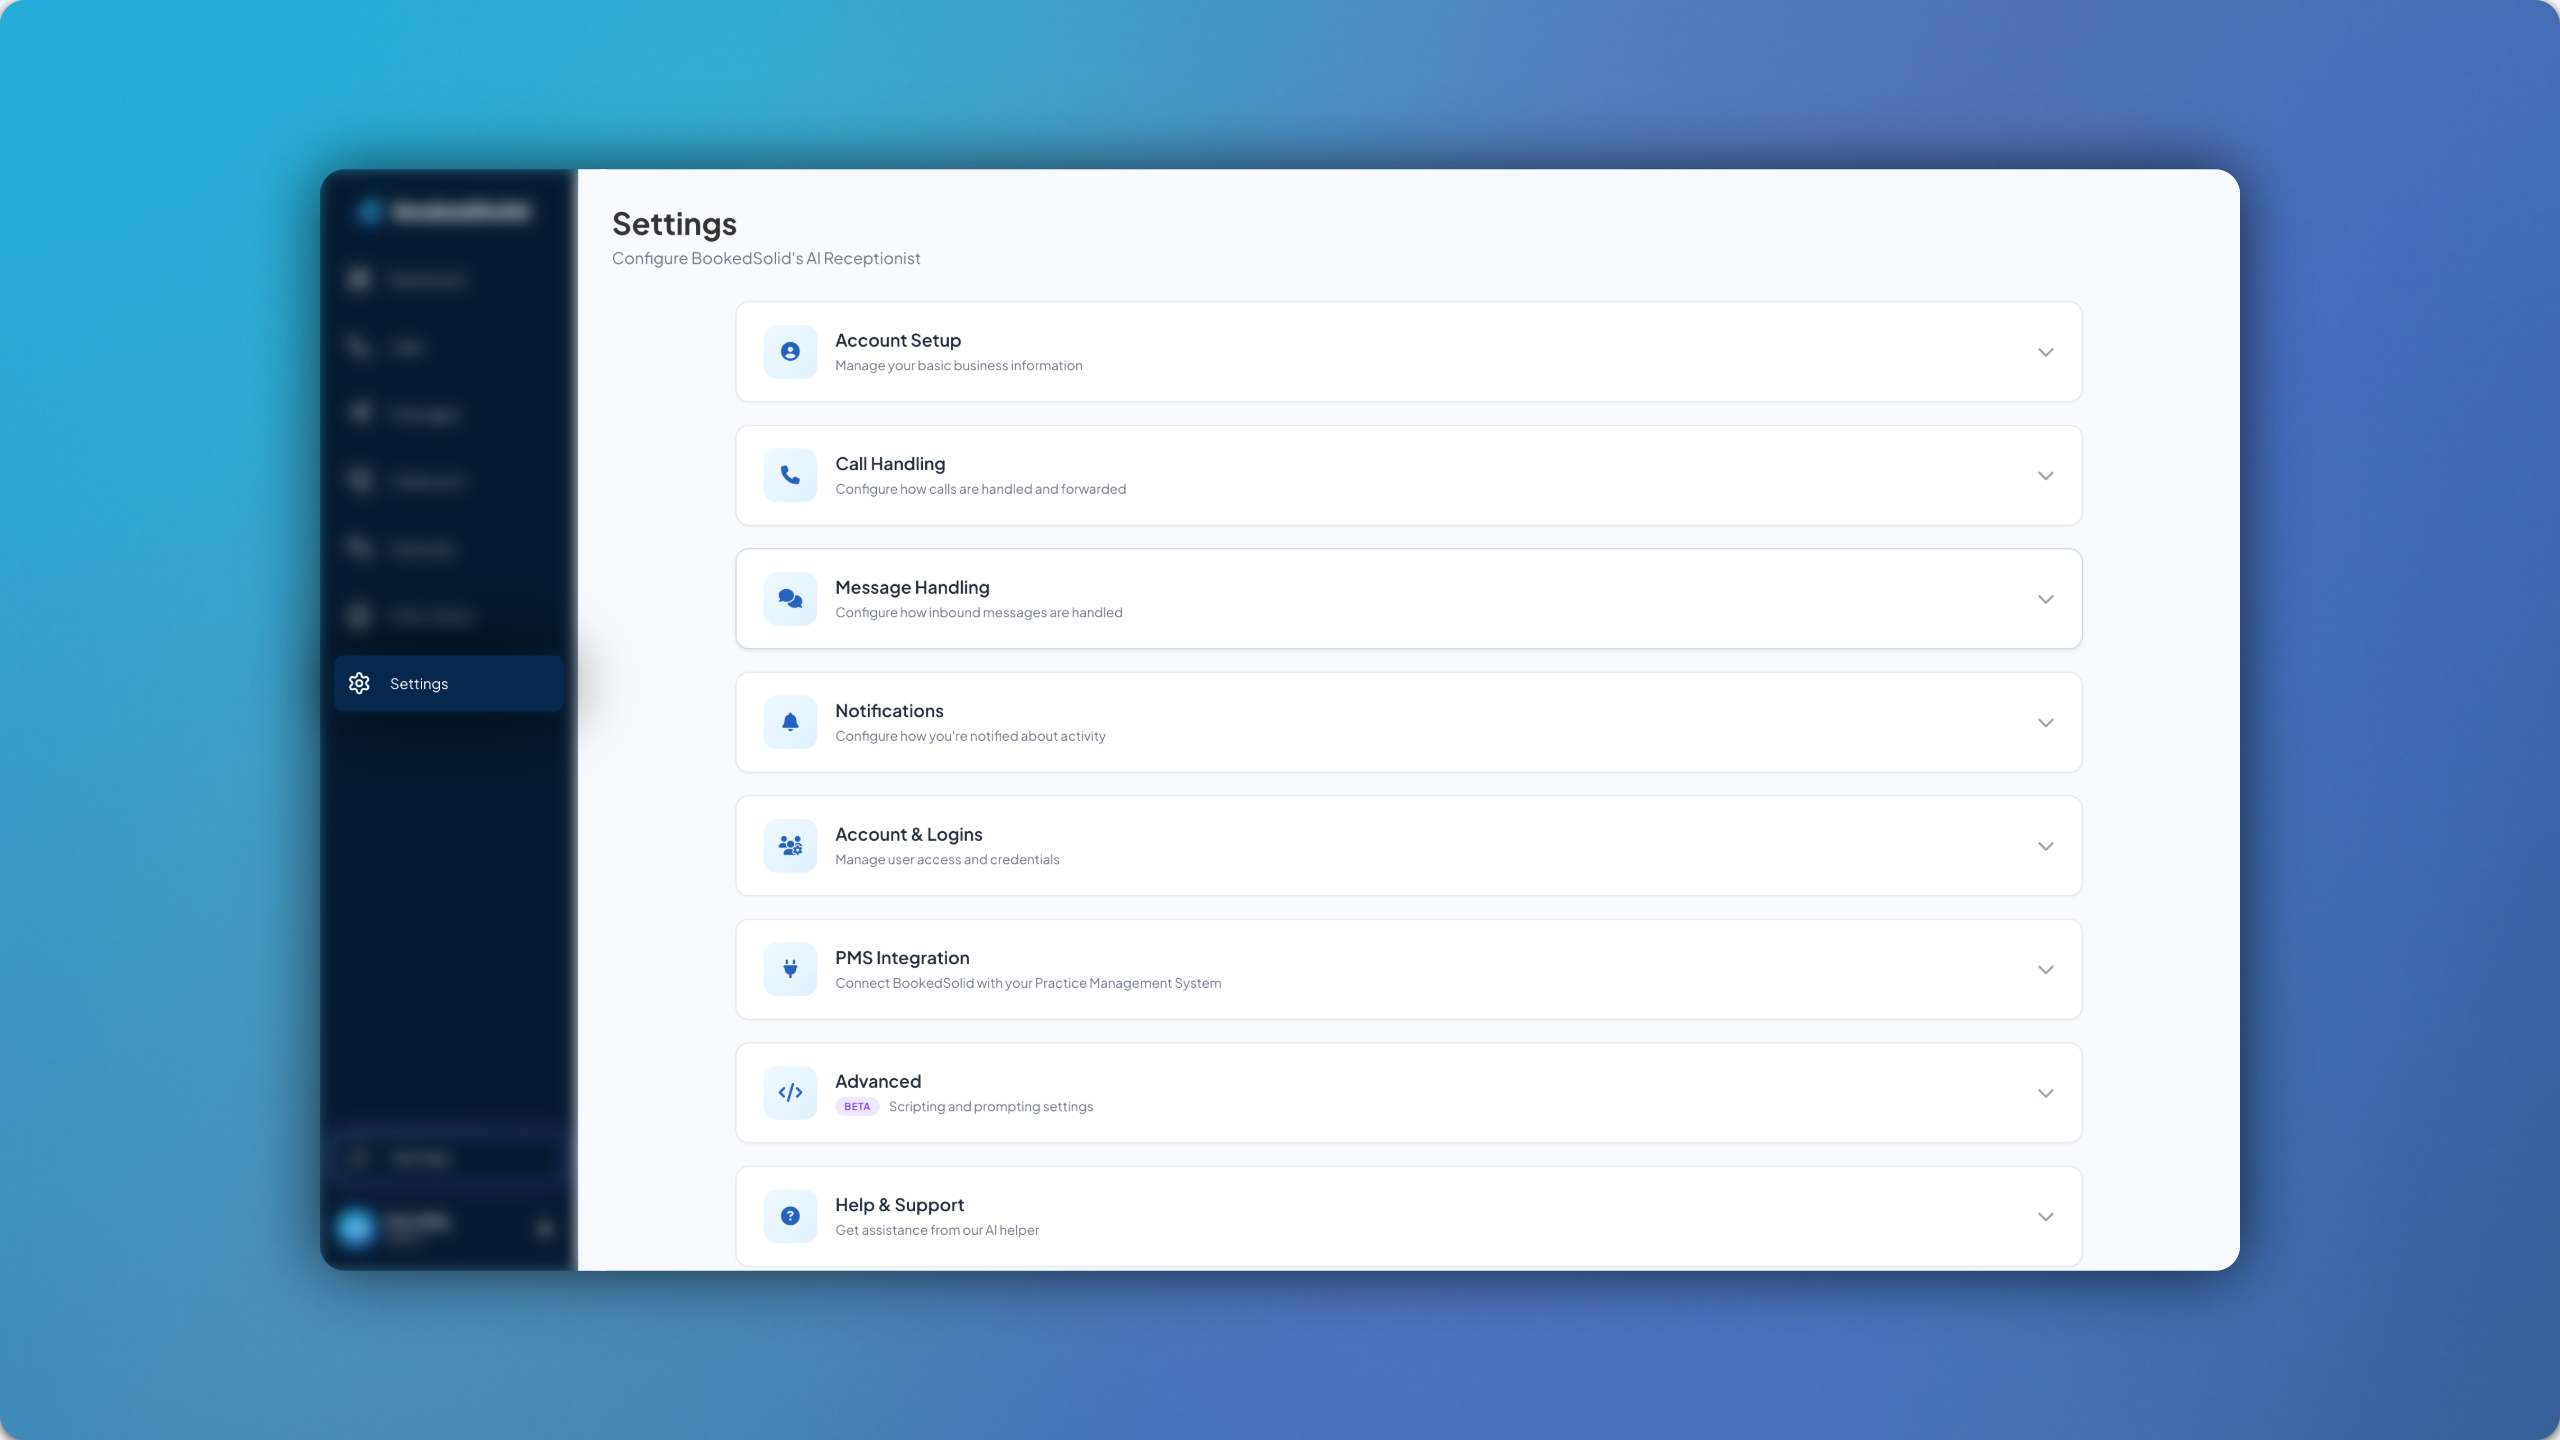
The settings page has been updated and refactored into a more simple format, with different settings available in different drop-downs. ⚙️
More complex settings such as scripting, custom instructions and compliance information have been added to the new ‘Advanced’ drop-down.
More additions and upgrades are planned for the settings page throughout the following months!
January 21st, 2026
New
Improved
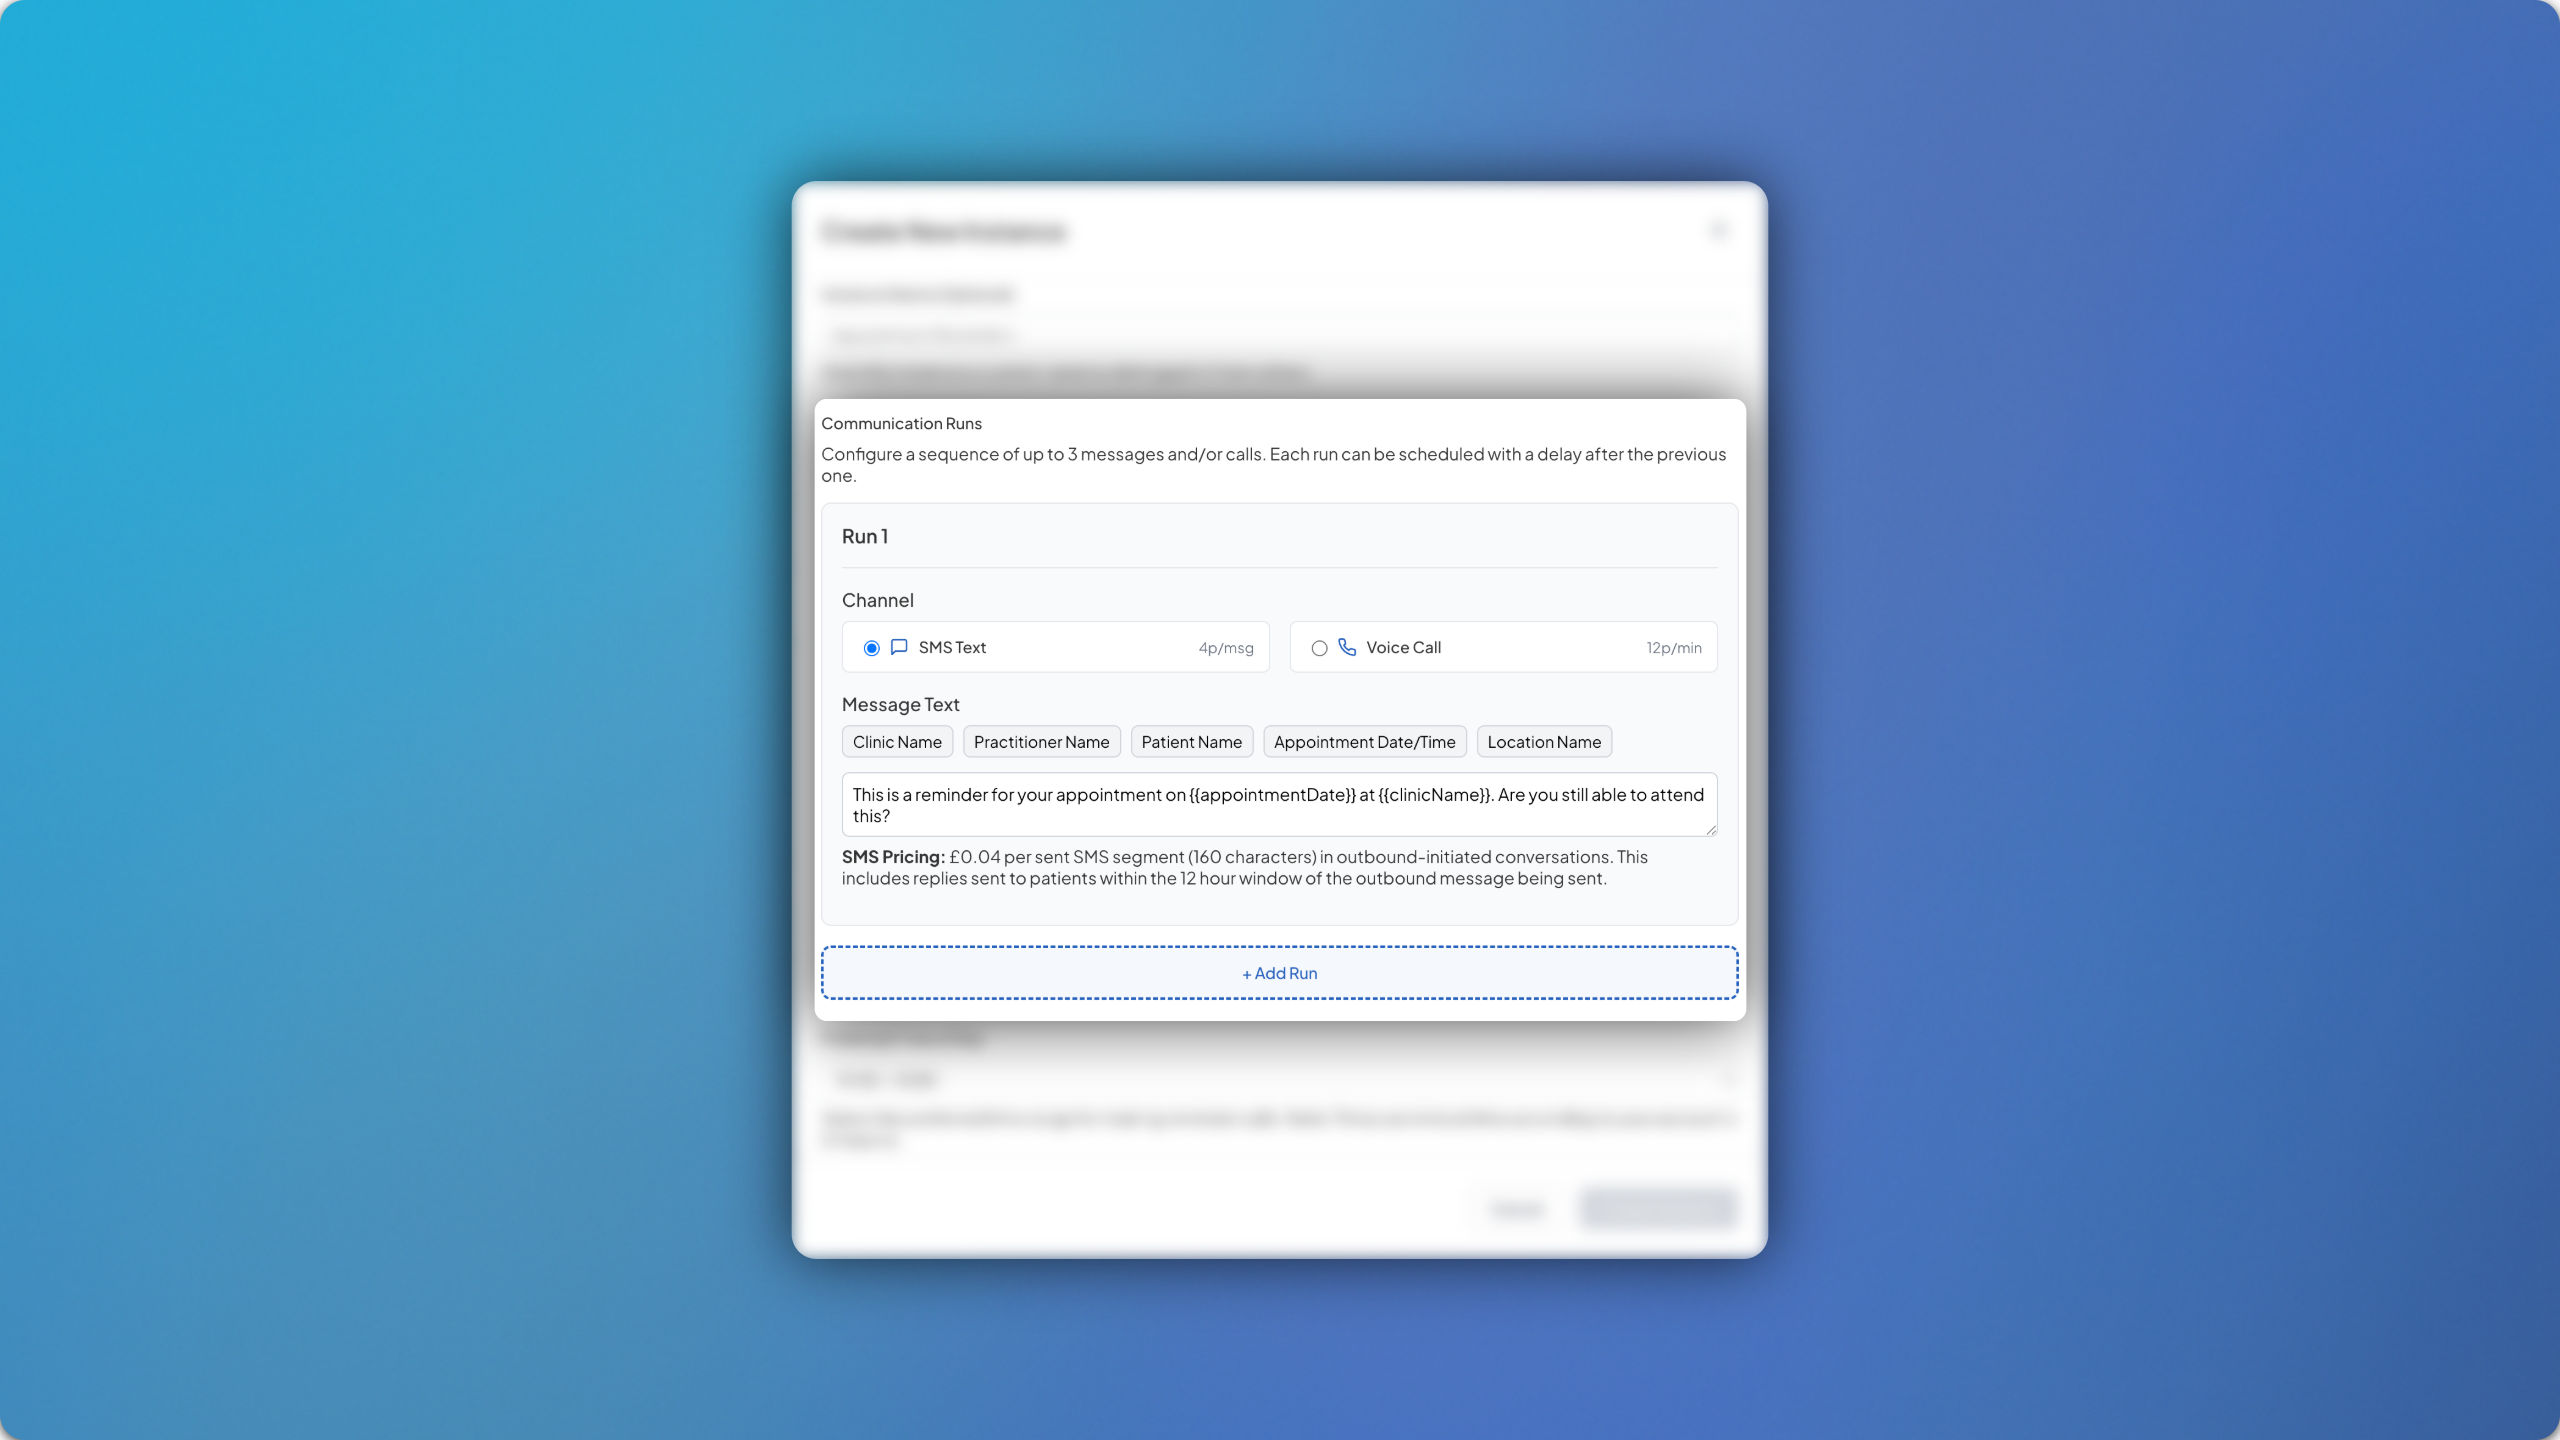
You can now send multiple communication runs for each outbound instance.
🔄
How it Works
Up to three communication runs can be set for each outbound instance, with varying details.
You can change both the channel (calls/SMS) and the actual message that is sent for each communication run. Each additional run is sent exclusively to patients who fail to engage with the previous run. You can also choose how much time to set between each run.
January 5th, 2026
New
Improved
Waiting Lists have been given an upgrade, allowing you to manage them more closely by adding patients manually.
How it Works
Previously, the patient would have to contact the clinic and request an unavailable appointment time in order to be added to the waitlist. Whilst this is still the primary function, you can also enter patient details manually as well.
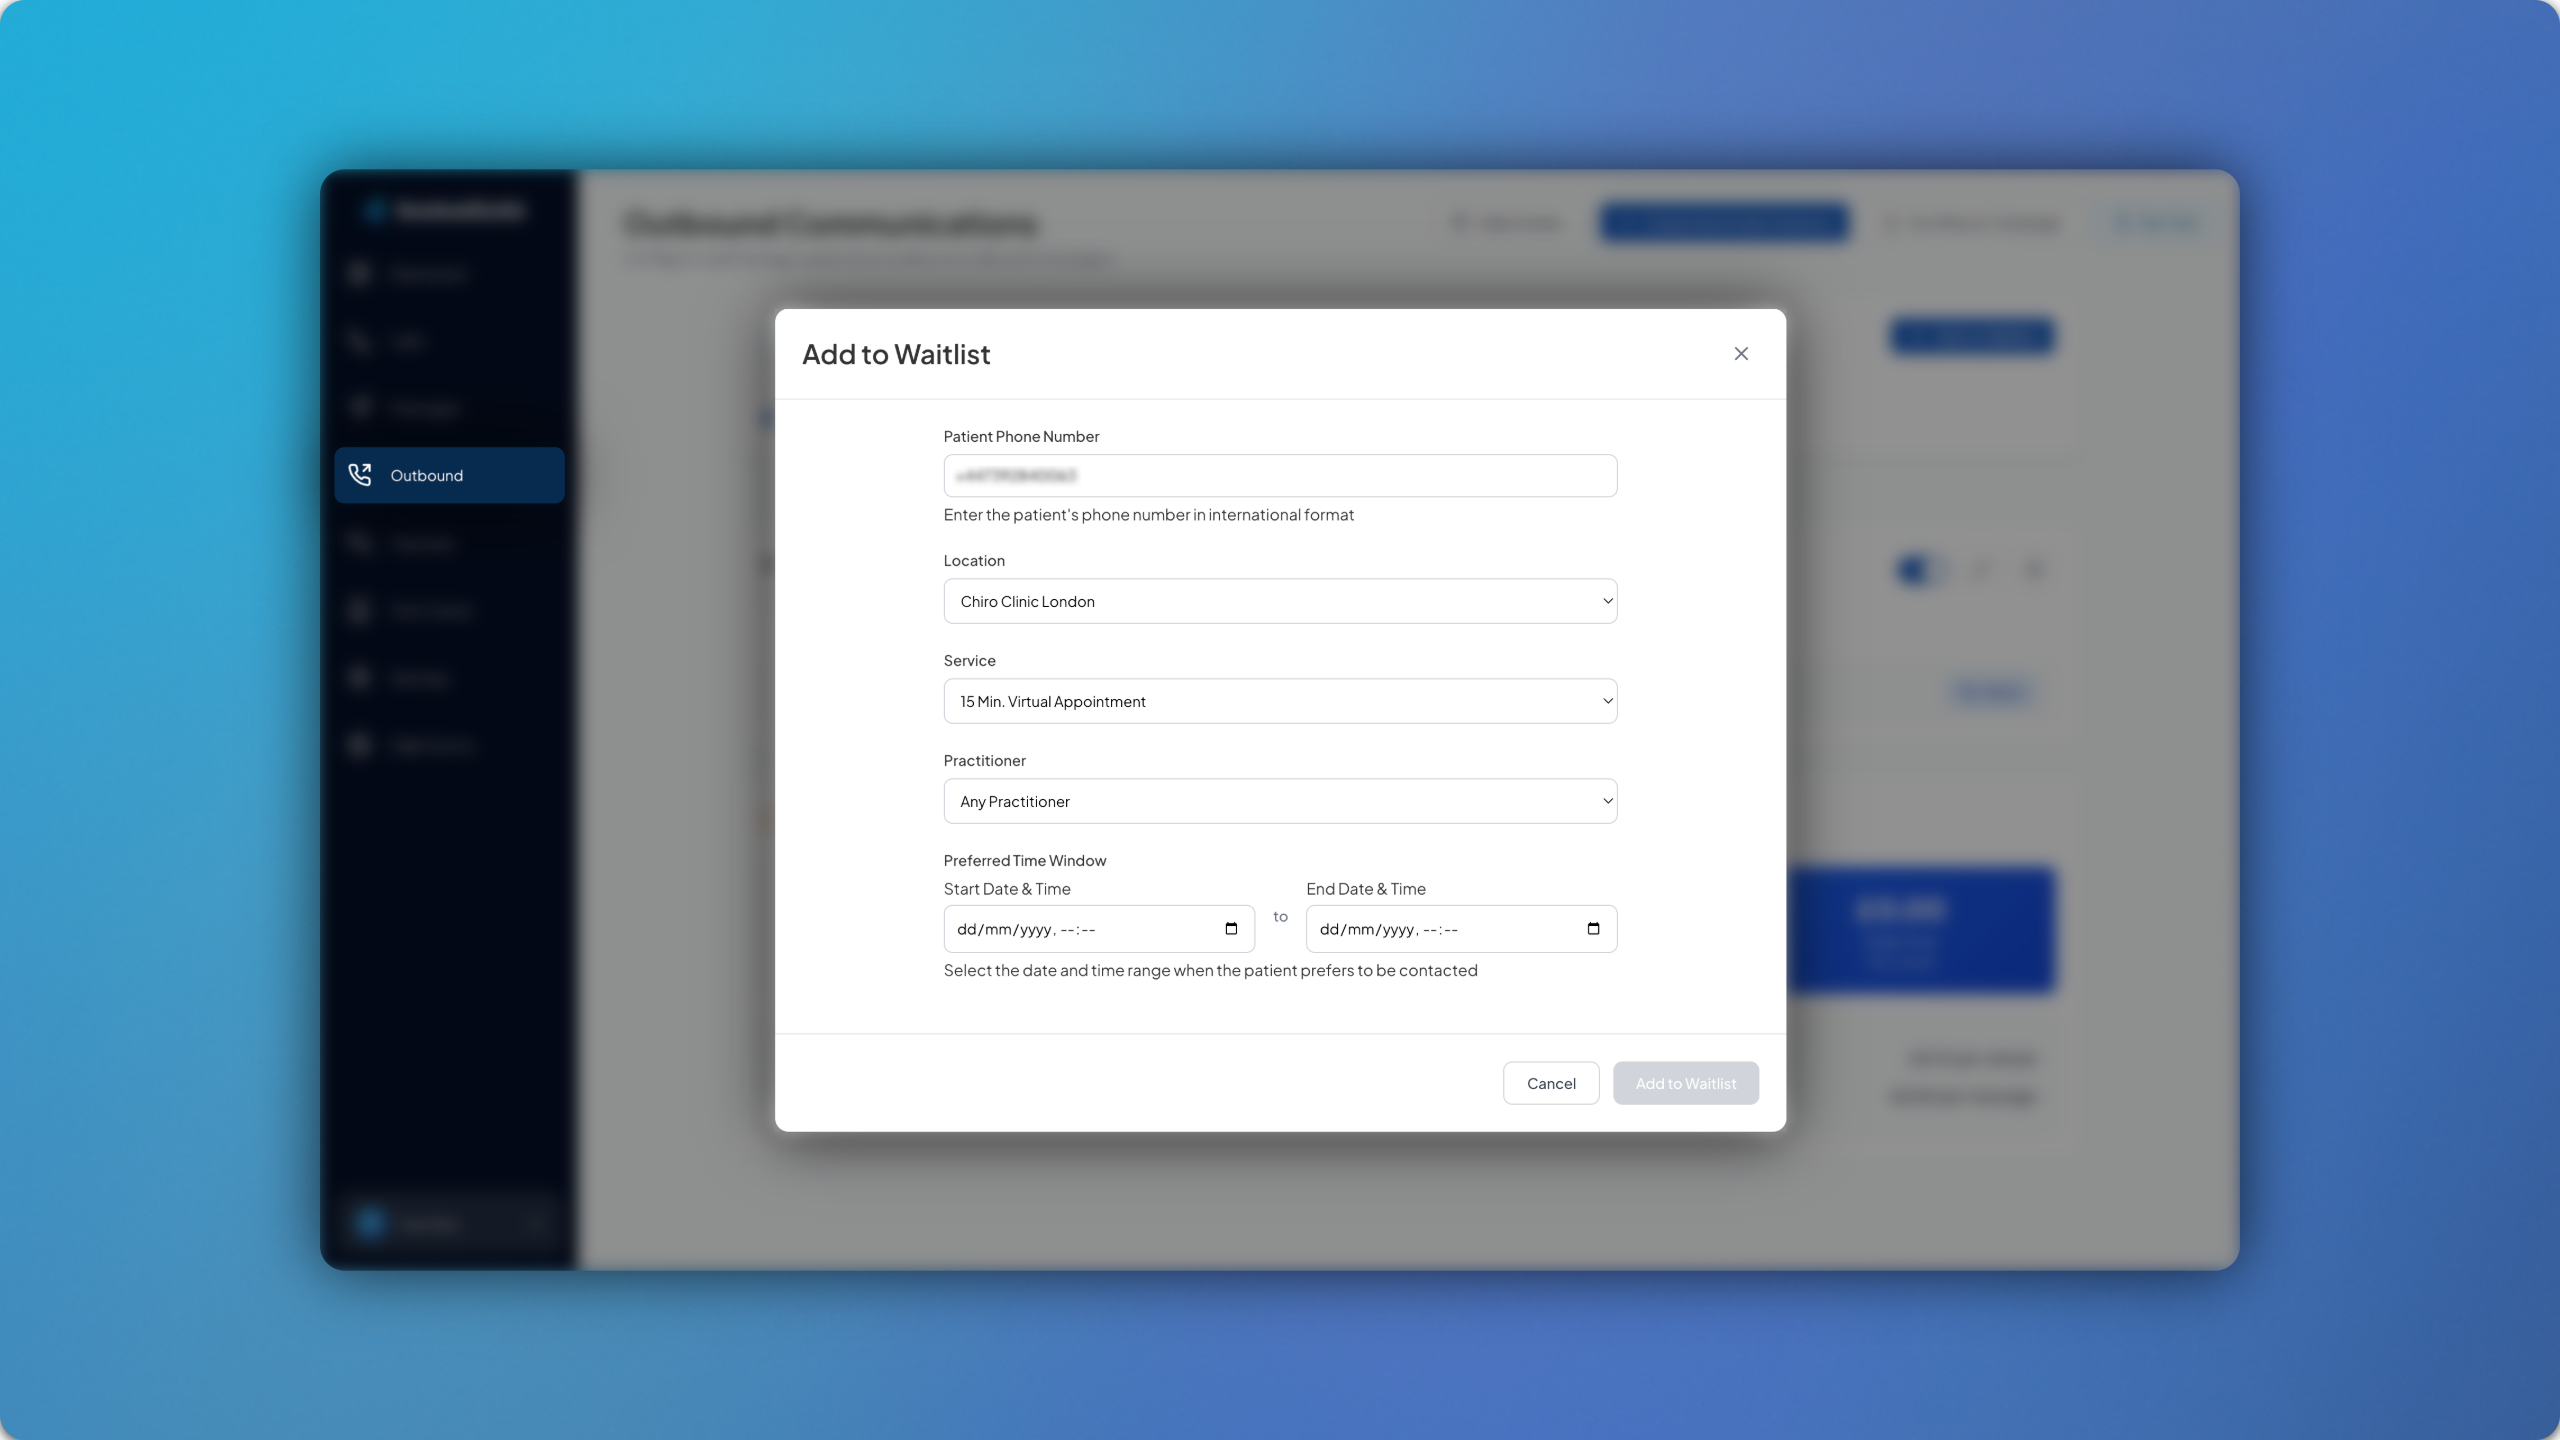
Simply head to Outbound and ensure that your waiting list instance is enabled. Once it’s enabled, the Manual Waitlist Management tab will appear at the top of the page. Click Add to Waitlist and enter the following details for the respective patient you wish to add:
Patient Phone Number
Location (if applicable)
Service/Appointment type
Practitioner
Preferred Time Window
You can then click Add to Waitlist and you’ll be able to see all the current patient entries.